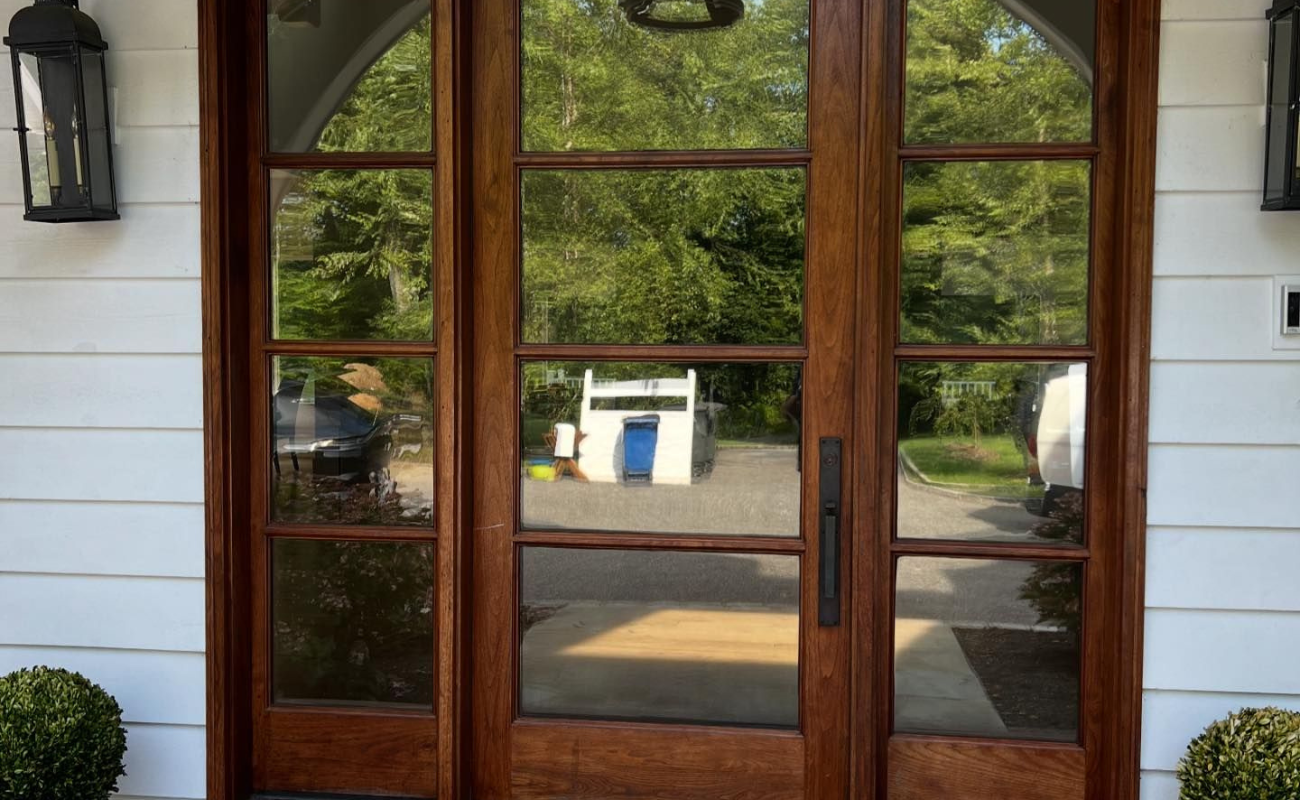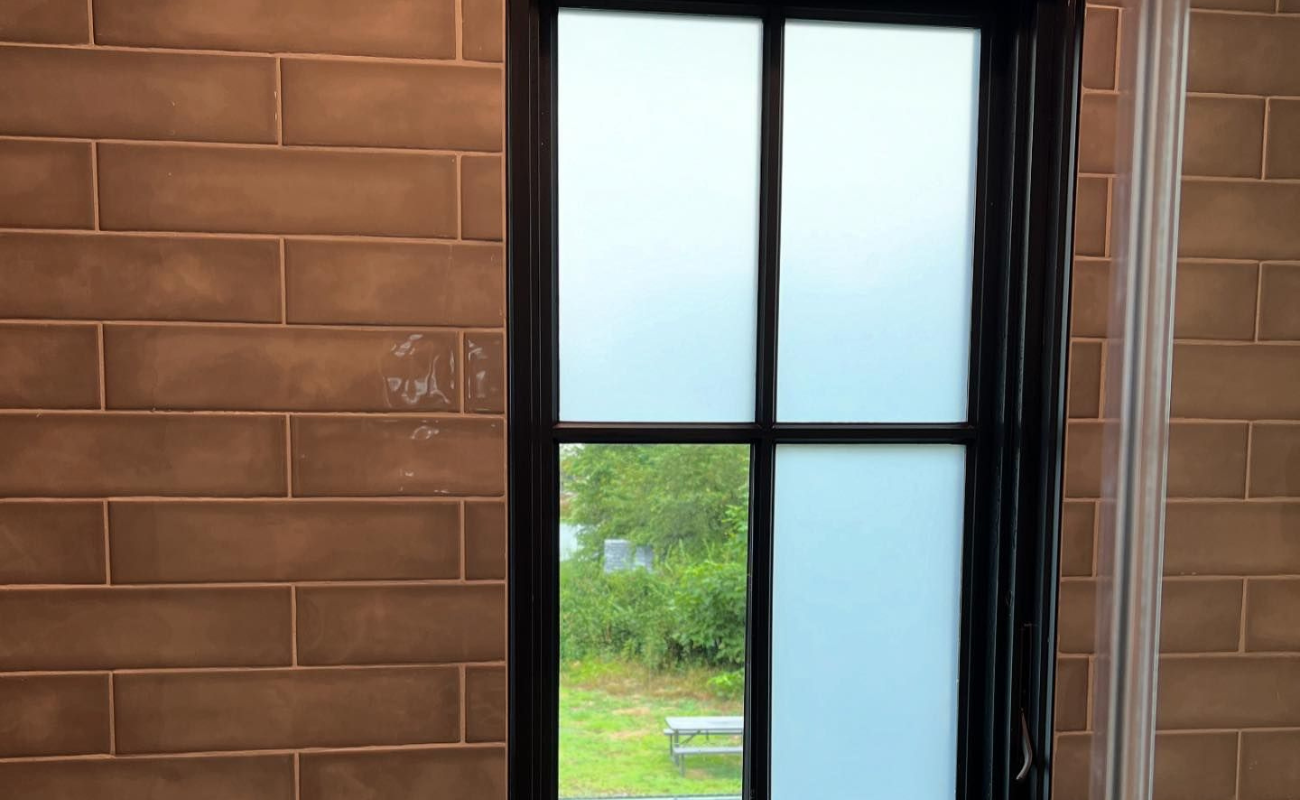
When installing residential window tint, ensuring a precise fit and a seamless application is key to achieving optimal results. Imagine transforming your living space with just a few simple steps to enhance privacy, reduce glare, and improve energy efficiency. Following the methodical approach outlined in this guide will equip you with the necessary knowledge to tackle this project successfully. Get ready to improve your home environment with sophistication and functionality by installing window tint, a cost-effective solution with long-lasting benefits.
Materials Needed
To begin the residential window tint installation process, you’ll need a few essential materials. First and foremost, you’ll need the window tint film itself. Make sure to choose a high-quality film that suits your shading and UV protection needs.
Additionally, you’ll need a spray bottle filled with a soapy water solution. This solution will help you apply the tint film smoothly onto the window surface. A squeegee is another crucial tool for removing air bubbles and excess water during installation.
Have a sharp utility knife or tinting tool on hand to ensure precise cutting of the tint film. Lastly, wipe the windows with a clean microfiber cloth before applying the film.
With these materials ready, you can embark on your residential window tint installation journey.
Measure and Cut Tint Film
Regarding the residential window tinting, the next crucial step is accurately measuring and cutting the tint film to fit your windows perfectly. Start by measuring the height and width of each window you plan to tint. It’s essential to add a few extra inches to ensure full coverage.
Lay the tint film on a clean, flat surface, like a cutting mat or a clean table, with the liner side facing up. Use a sharp utility knife or tinting tool to cut the film according to your earlier measurements carefully. Make sure to cut straight lines to avoid uneven edges affecting the installation.
If your windows are larger than the tint film, you can overlap multiple pieces slightly during installation. Once you have all the pieces cut to size, you’re ready to prepare the window surface for application.
Prepare the Window Surface
Now that you have the window tint film cut to the correct size, the next step in the residential window tint installation process is to prepare the window surface. Start by thoroughly cleaning the window using a mild detergent or window cleaner to remove dirt, dust, or grime. Focus on the corners and edges where the film will adhere. After cleaning, use a lint-free cloth to dry the window completely.
Next, inspect the window for damages or imperfections. Fix any cracks, chips, or scratches before applying the tint film. Smooth out any rough areas using fine-grit sandpaper and clean the surface again to ensure a smooth application.
Additionally, use a gentle adhesive remover to remove any stickers, adhesives, or residues from the window. These can interfere with the tint film’s adhesion and overall appearance. Once the window surface is clean, dry, and free of imperfections, you’re ready to apply the soapy water solution.
Apply Soapy Water Solution
Properly applying a soapy water solution to the prepared window surface is crucial for a smooth and successful application of the tint film.
Begin by filling a spray bottle with water and adding a few drops of mild dish soap. Shake the bottle gently to mix the solution.
Next, generously spray the soapy water onto the entire surface of the window. The soapy water acts as a lubricant, allowing you to reposition the tint film during installation.
Ensure that the window surface is thoroughly covered with the soapy water solution. This step is essential to prevent the tint film from sticking prematurely and allows you to adjust its position for a perfect fit.
Take your time spraying the solution evenly, making sure no areas are missed. The soapy water also helps remove any dust particles that may have settled on the window surface, ensuring a clean and smooth application of the tint film.
Position and Smooth Out Tint
To effectively position and smooth out the tint film, carefully peel off the protective backing from the adhesive side.
With the adhesive side facing you, gently spray the film with the soapy water solution to prevent it from sticking prematurely.
Next, align the film with the top of the window and slowly lower it into place, ensuring it fits within the frame.
As you position the film, use your hands to smooth out any air bubbles or wrinkles.
Starting from the center and working your way outwards, press firmly to secure the film to the glass.
You can use a squeegee to help smooth out the film and remove excess water if needed.
Take your time during this step to avoid creases or misalignment.
Once the film is properly positioned and smoothed out, you can trim any excess film for a clean finish.

Trim Excess Film
Trim excess film during the residential window tint installation process, and begin by carefully examining the edges of the tint that extend beyond the window frame. Using a sharp utility knife or blade, gently score along the edge of the window frame where the excess film overlaps. Make sure to apply just enough pressure to cut through the film without damaging the window or frame.
Next, peel back the excess film while holding it firmly to prevent any tearing or misalignment. Be cautious not to pull too hard, as this could cause the film to rip unevenly. Slowly and steadily remove the excess film until you reach the edge of the window frame. Take your time to ensure a clean and precise cut.
Once the excess film is removed, use a clean cloth to press down on the edges of the tint to secure it in place. Smooth out any wrinkles or air bubbles that may have formed during the trimming process.
Trim any remaining uneven edges if necessary before proceeding to the next step in the installation process.
Squeegee Away Bubbles
After successfully trimming the excess film during the residential window tint installation, the next step is to tackle any remaining bubbles that may have formed. Bubbles can occur due to trapped air or excess moisture, affecting the tint’s appearance and effectiveness.
To squeegee away bubbles, start from the center of the tinted area and gently push the squeegee towards the edges. Apply even pressure to ensure the bubble is pushed out completely. Work methodically across the entire window, gradually moving the squeegee toward the edges.
If stubborn bubbles persist, use a heat gun on low heat to help soften the film, making it more pliable and easier to squeeze out. Be careful not to overheat the film, as this can cause damage.
Continue this process until all bubbles are removed, leaving your window tinting looking smooth and flawless. Remember, patience and attention to detail are key to achieving a professional finish.
Final Touches and Cleanup
Once the bubbles have been squeezed away to perfection, it’s time to focus on the final touches and cleanup of your residential window tint installation. Start by inspecting the edges and corners of the tinted film. Use a heat gun or hairdryer on a low setting to carefully heat and press down any areas that may not fully adhere to the window. This step ensures a smooth and professional finish.
Next, take a clean microfiber cloth and gently wipe down the entire surface of the tinted window. This helps remove any remaining residue or marks left from the installation process. Pay special attention to the edges to ensure they’re securely in place.
Lastly, clean the inside and outside of the window with a mild cleaning solution to remove any dirt or fingerprints. Double-check for any missed spots or bubbles that reappeared during the process. Congratulations on completing your residential window tint installation with finesse and attention to detail. Enjoy the benefits of your newly tinted windows!
By following these steps, you’ve improved the aesthetics of your home, increased privacy, and reduced glare and UV rays.
Importance of Professional Installer
While DIY is fun and cost-effective for some, asking for professional help in residential window tint installation is crucial for several reasons. Professionals ensure a flawless application, reducing the risk of bubbles and imperfections. They also provide access to high-quality materials and warranties, protecting your investment. Additionally, their expertise helps navigate local regulations, ensuring compliance and enhancing safety.
So, enjoy the benefits of tinted windows and the comfort they provide. If you encounter any issues, don’t hesitate to seek professional assistance for a flawless finish.
